
Water tank leak repair for homes and buildings
We close the float valve and the outlet and watch the level fall, which on its own tells us whether the loss is the tank or the plumbing. Then we drain, clean and dry it and repair the crack or the pipe entry itself, because lining goes on after a repair and never instead of one.
-
Potable-rated materials
Linings and disinfectants cleared for drinking water tanks, not general-purpose products.
-
You get the downtime first
How many hours the tank is out of service, told before we start rather than after we finish.
-
A first-draw flush
We run the first draw off after refilling, and the tank is not handed back until the water runs clear.
-
Ground and roof tanks
Villas, apartment blocks and premises that need a written record of each visit.
Why a repaired tank starts leaking again
Three reasons, and between them they cover most of what we get called back to.
Lining laid over a live crack
The coating bonds to the face while the water pushes on it from behind. It looks solved until the tank is filled, then the layer lifts from underneath.
The damp patch is not the crack
Water tracks between the concrete and the render and appears well away from where it left the tank. Treating the stain means treating sound wall.
The surface was never dried
Mortar and resin do not hold on sediment or standing damp. A tank patched while it was still half full comes back within weeks.
Where the water leaves decides how it is repaired
Six things we check before any material is opened, and each one changes the repair.
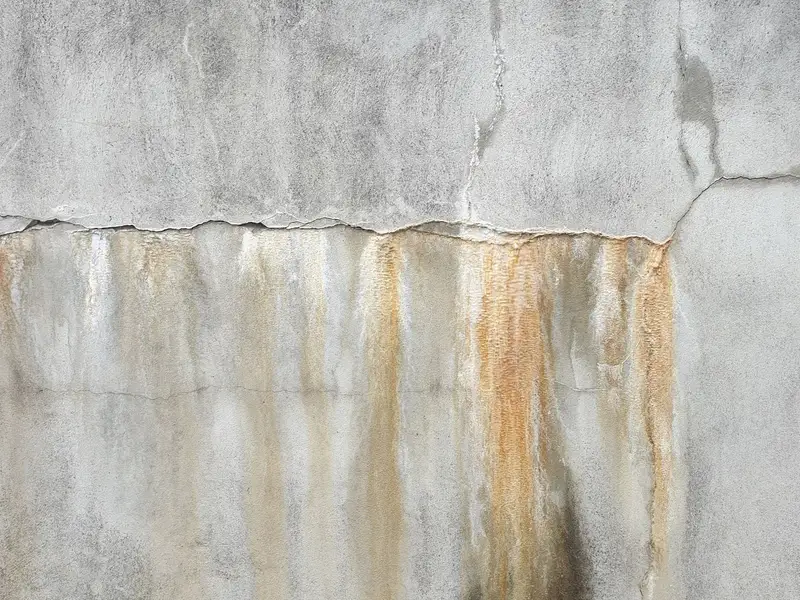
Damp and salt on the outside wall
White efflorescence means water has been moving through the concrete for a while. It tells us which side to start on, not where the crack is.
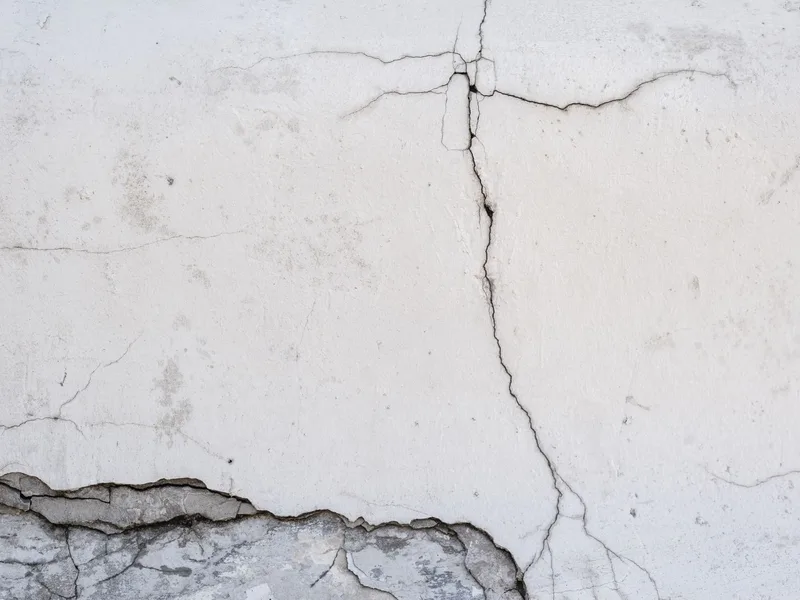
The kind of crack
A hairline shrinkage crack is cut open and filled; a moving crack opens and closes with the temperature and needs a flexible material, not a rigid one.
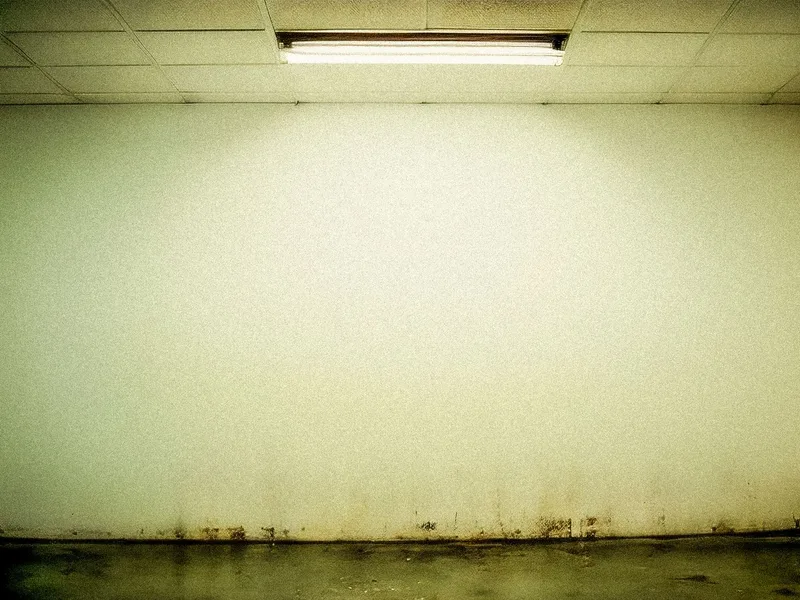
The wall to floor junction
This is a construction joint and the commonest leak point in a concrete tank. A layer rolled over it does not repair it.
Pipe entries
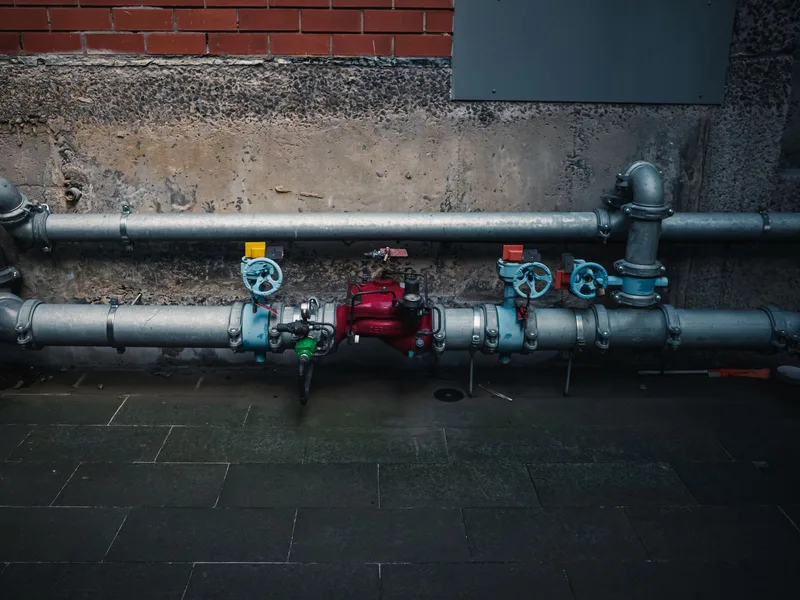
An inlet or outlet pipe leaves a void around the sleeve, and water leaves through that void long before it leaves through the concrete.
The condition of the old lining
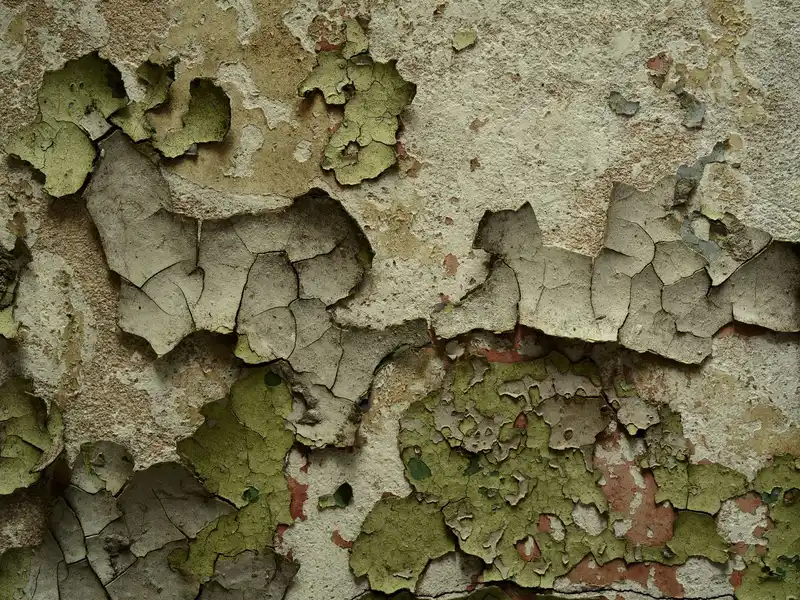
A blistered layer traps water underneath and hides the crack. It comes off completely before repair, because nothing new will hold on it.
What the tank is made of
A fibreglass or polyethylene tank usually leaks at a seam or at the gasket on the outlet, and that is a different repair from concrete.
How the visit runs
Four steps. It starts with proving where the water goes and does not end at filling the crack.
-
1
Inspect and locate the leak
We close the float valve and the outlet, mark the water level and watch it fall, then check the fittings and the wall beside it. That separates a tank leak from a pipe leak or a float valve that never shuts.
-
2
Drain, clean and dry
We empty the tank, lift the sediment off the base, wash back to sound concrete and let the surface dry. No repair holds on a damp or dusty face.
-
3
Repair the cracks and the entries
We cut the crack open, fill it with a non-shrink mortar, inject anything still weeping and rebuild around the pipe sleeve. A joint that moves takes a flexible detail, not a rigid one.
-
4
Refill, test, then sterilise
We refill, read the level again to confirm the drop has stopped, then sterilise before the water is used, because the tank has been open with tools and hands inside it.
What tank leak repair includes
-
A marked level test
A reading before and after with everything shut, which establishes that the loss is the tank and not the plumbing.
-
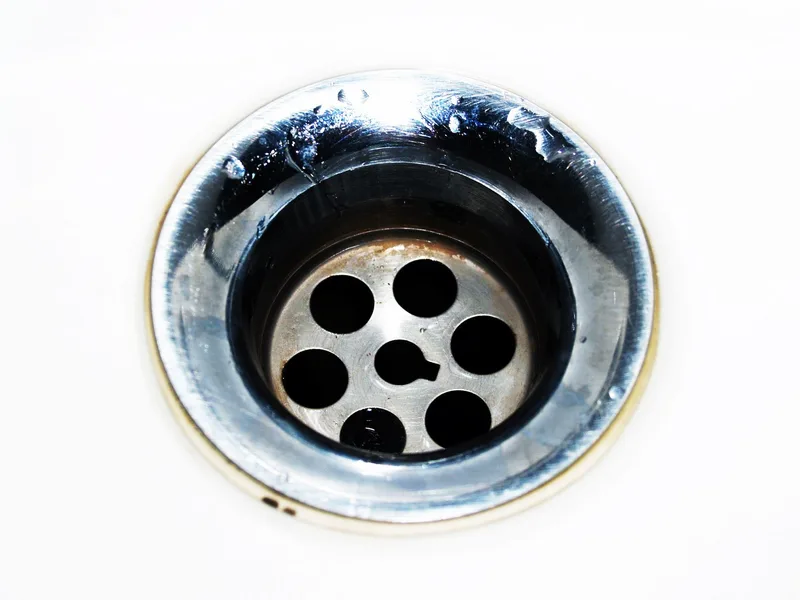
Draining and sediment removal
Water and silt out of the base, so the floor and the walls can be seen as they really are.
-
Pressure wash and dry back
The weak layer and the dust come off, because a repair only holds on sound concrete.
-
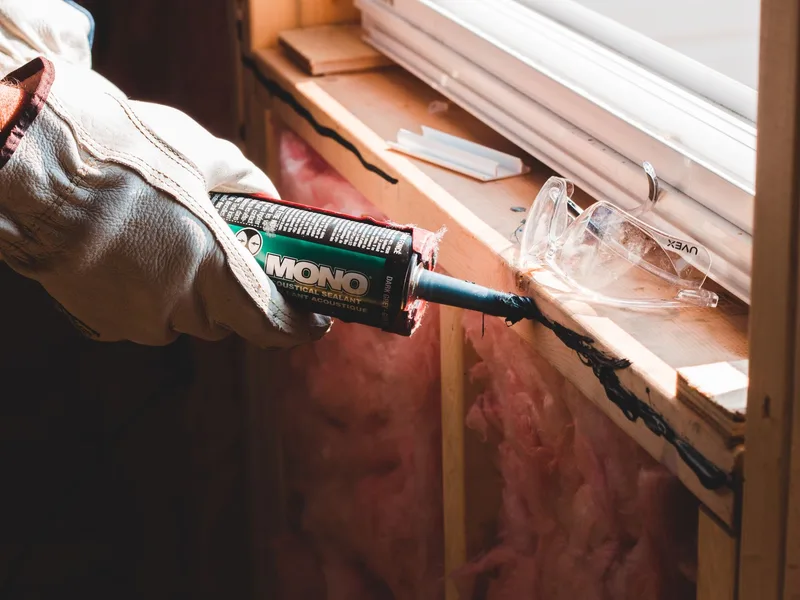
Cracks opened and filled
The crack is cut open and filled with a non-shrink mortar, and anything still weeping under water pressure is injected.
-

Refill and a recorded test
We refill, read the level again and write the reading down, so the result is not a matter of opinion.
-
Sterilised and back in service
A wash and a sterilisation once the material has cured, and guidance on running the first fill off before the water is used.

What goes inside the tank
-
1
Materials cleared for drinking water
The lining and the disinfectant are both rated for potable contact. We do not use general-purpose products here, because a water tank is not a general-purpose surface.
-
2
The tank is out of service for a while
You get the number of hours before we start, so you can plan around it rather than discover the supply is off after the crew arrives.
-
3
A first draw after refilling
The tank is not handed back the moment it is full. We run the first draw off and confirm the water is clear and carries no smell.
-
4
What is written down at the end
A report of what was found inside before the work, what was used, and when the next check is due.
Our work

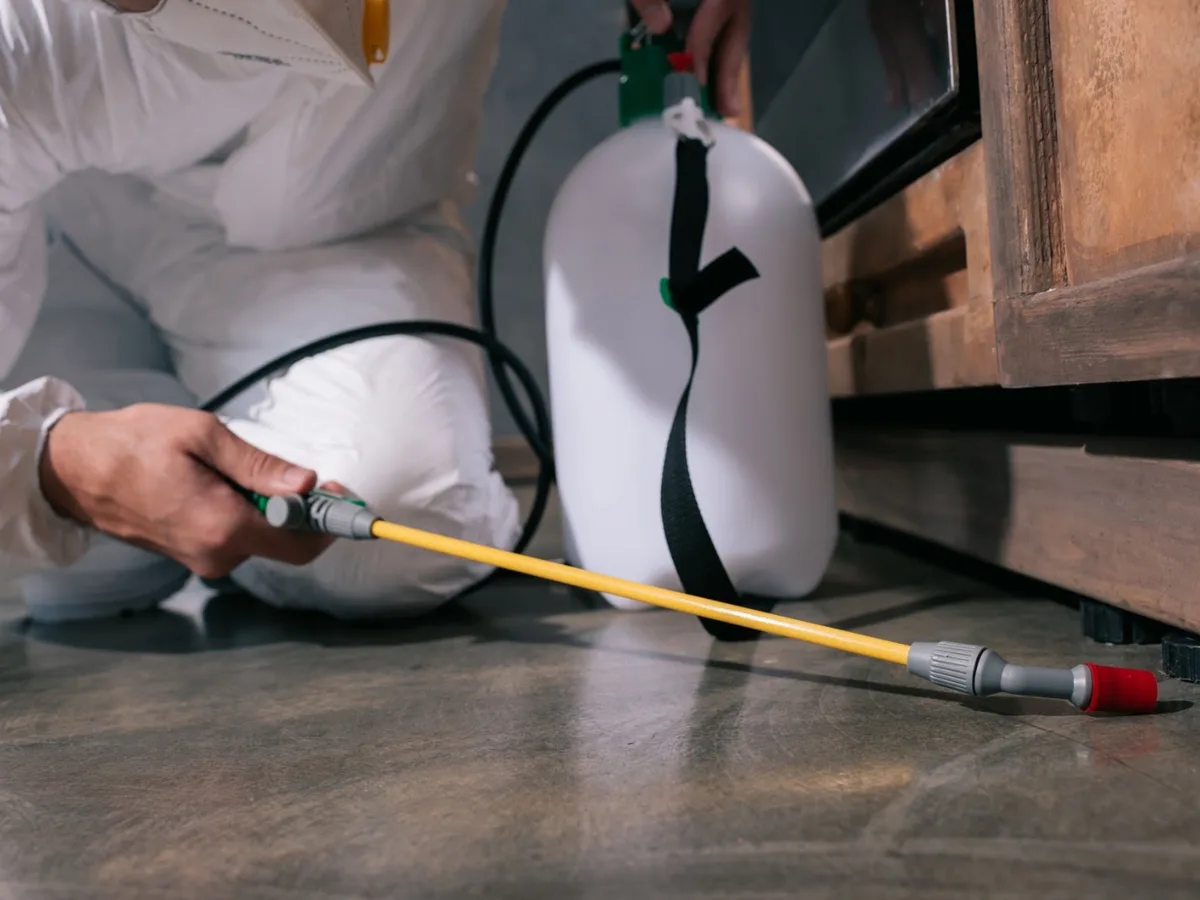
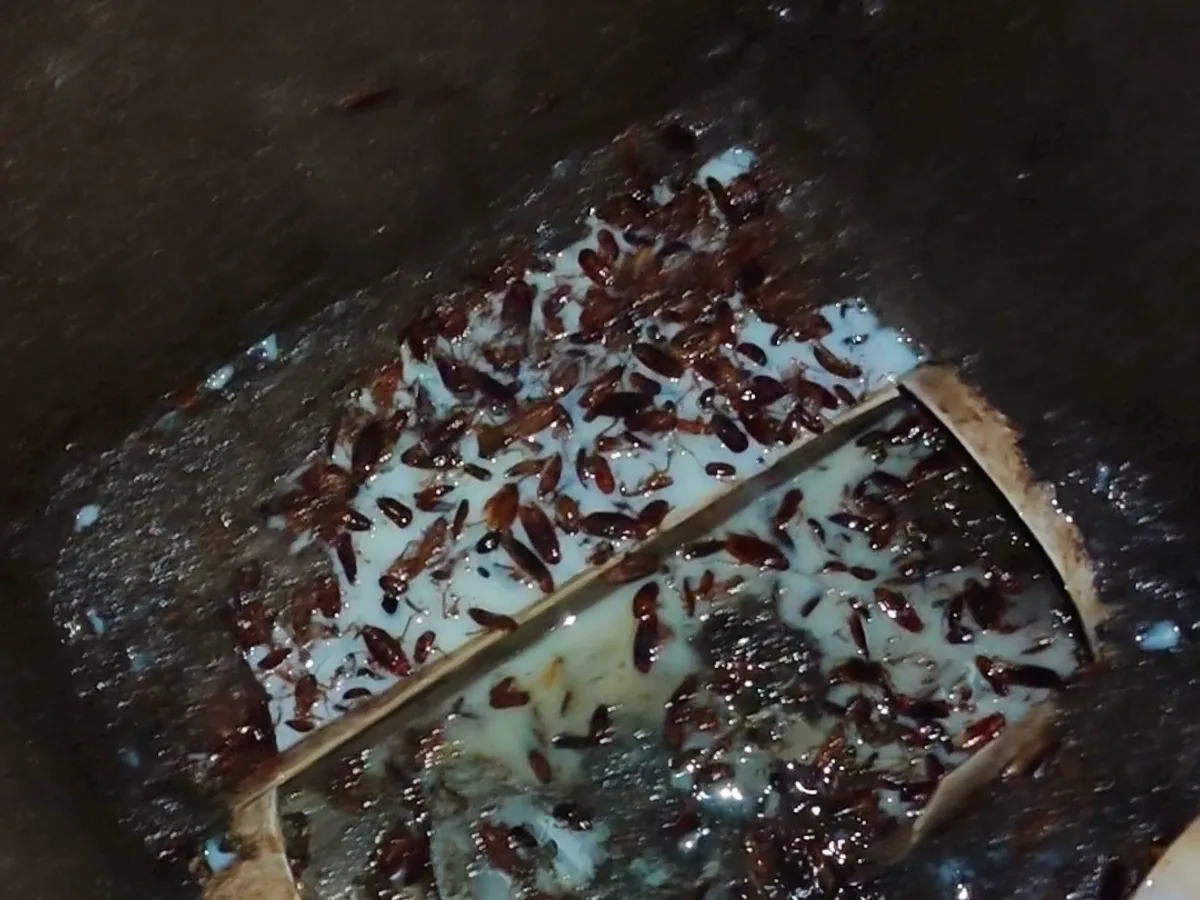
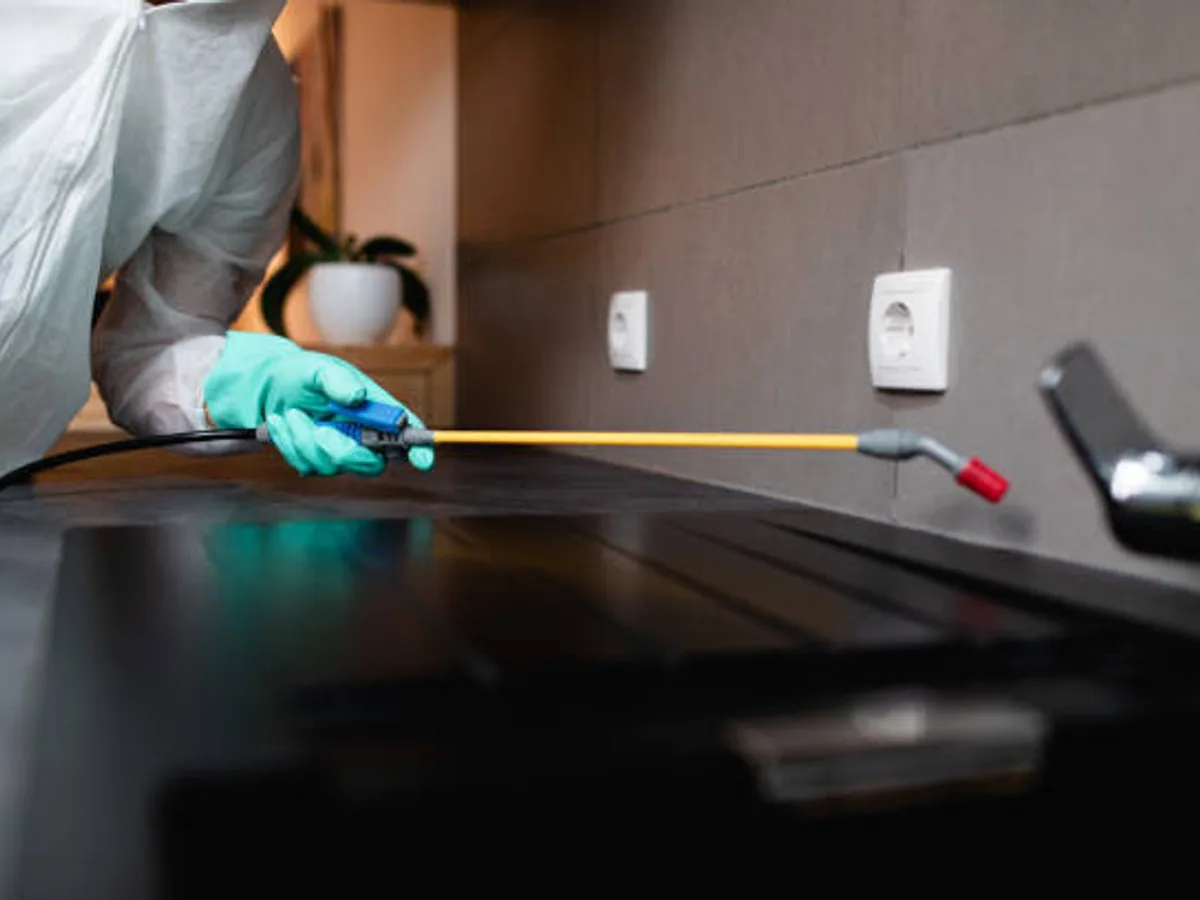
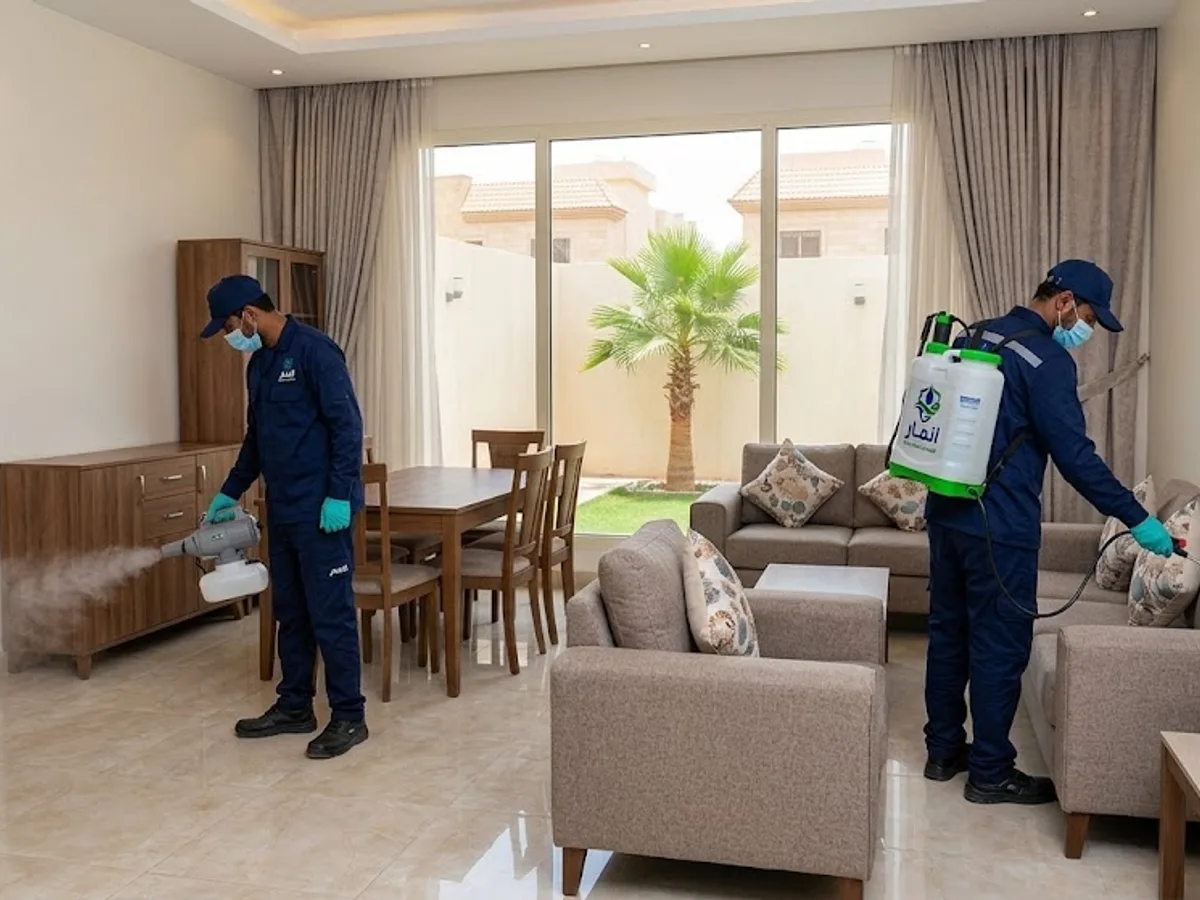
What customers say on Google
The termite problem disappeared after the treatment. Thank you.
Translated from the Arabic original.
We had a cockroach problem, and after the treatment, praise God, the cockroaches have largely gone. Their work is tidy and they are respectful to deal with. I recommend them.
Translated from the Arabic original.
Excellent and courteous service, and the bed bugs were cleared from the house completely. I recommend them, God willing.
Translated from the Arabic original.
We cover Jeddah and Makkah
The district pages for this service are being prepared and will appear here when they are published.
Common questions
How do I know the leak is the tank and not the plumbing?
With a level test. We close the float valve and the outlet, mark the water level and read it again later. If the level drops with everything shut, the loss is the tank body or one of its fittings. If it holds, the problem sits outside the tank, and we say so rather than open a sound one.
Can the leak be repaired without emptying the tank?
No. Repair mortar and resin need a clean, dry, sound face to hold on to, and sediment or damp underneath means the patch lifts the first time the tank is filled. We drain, wash and dry first, and we set the appointment so you can store the water you need beforehand.
Why did the leak come back after the last repair?
Usually because a coating was laid over a crack that was still weeping, so the water pushed the layer off from behind. The other common reason is a moving crack, one that opens and closes with the temperature, filled with a rigid material that cannot move with it, so it reopens along the same line. That is why we classify the crack before we choose the material.
Do I still need the tank lined after the repair?
The repair stops the loss at the crack itself. Lining protects the whole body of the tank from the moisture that makes the next one. The order is repair first, lining second, and we do not reverse it. The detail is in Water tank sealing.
Is the water usable straight after the repair?
We let the material cure for as long as its type needs, then wash the tank and sterilise it before it goes back on, because it has been open with tools and hands inside. That step is part of the job here, and it is set out in Water tank cleaning and Water tank sterilization.
How long is the tank out of service?
It follows the tank: how many cracks there are, how much sediment is in the base, how long the surface takes to dry and how long the material needs to cure. Drying is the part that cannot be rushed, and rushing it is behind most of the repairs we get called back to. We give you the window after the inspection and plan the stored water around it.
What does tank leak repair cost?
It is set after the inspection. The figure moves on the size and the material of the tank, where the leak is and how many cracks there are, whether a pipe sleeve or a construction joint has to be opened up, and whether lining follows. Send us a photo of the tank and a description on WhatsApp and we will give you an estimate before we come out.
Other services
Scroll to see the rest of what we do.
-
 Residential
Cockroach control
Residential
Cockroach control
-
 Residential
Bed bug control
Residential
Bed bug control
-
 Residential
Termite control
Residential
Termite control
-
 Residential
Rodents and mice
Residential
Rodents and mice
-
 Residential
Mosquito control
Residential
Mosquito control
-
 Residential
Fly control
Residential
Fly control
-
 Residential
Ant control
Residential
Ant control
-
 Residential
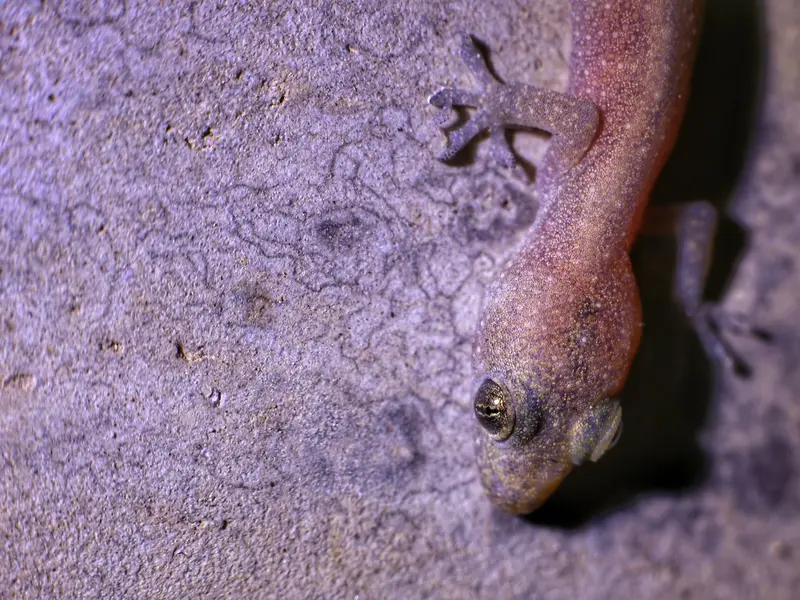
Gecko control
Residential
Gecko control
-
 Residential
Scorpion control
Residential
Scorpion control
-
 Residential
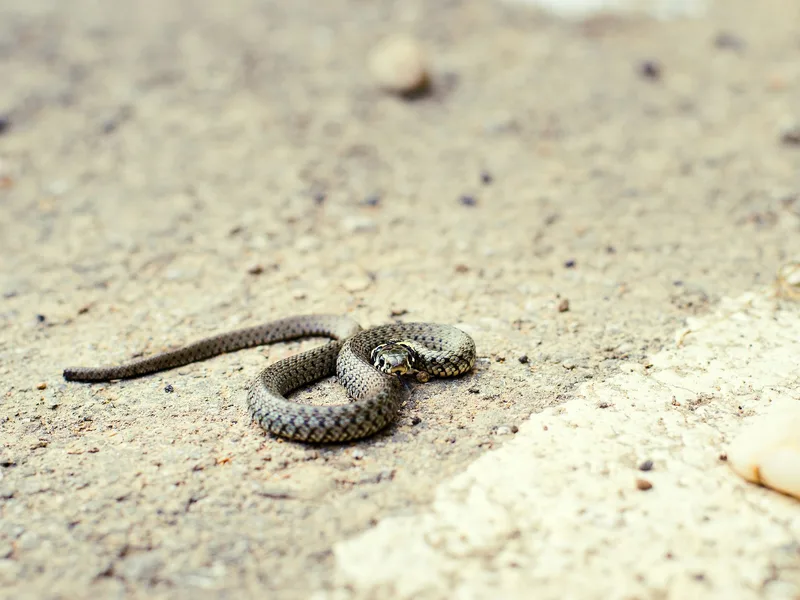
Snake control
Residential
Snake control
-
 Residential
Flea control
Residential
Flea control
-
 Residential
Bird and pigeon control
Residential
Bird and pigeon control
-
 Residential
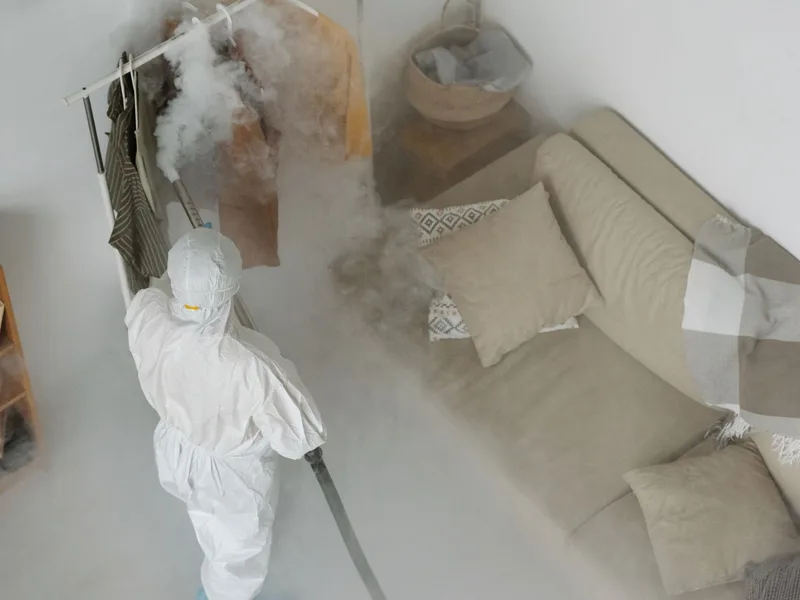
Preventive treatment
Residential
Preventive treatment
-
 Residential
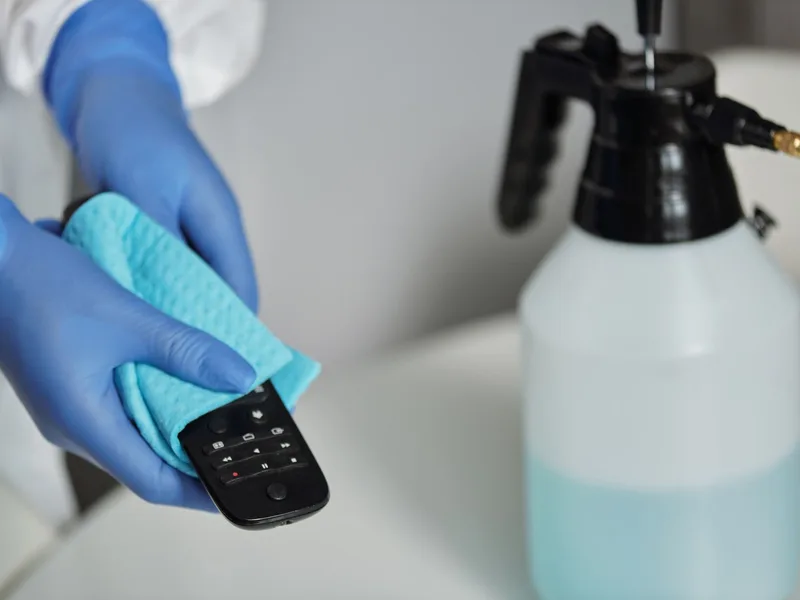
Disinfection
Residential
Disinfection
-
 Commercial
Annual contracts
Commercial
Annual contracts
-
 Commercial
Restaurants and cafes
Commercial
Restaurants and cafes
-
 Commercial
Hotels and apartments
Commercial
Hotels and apartments
-
 Commercial
Warehouses and factories
Commercial
Warehouses and factories
-
 Commercial
Schools and nurseries
Commercial
Schools and nurseries
-
 Commercial
Retail and malls
Commercial
Retail and malls
-
 Commercial
Rest houses and farms
Commercial
Rest houses and farms
-
 Commercial
Fumigation
Commercial
Fumigation
-
 Water tanks
Water tank cleaning
Water tanks
Water tank cleaning
-
 Water tanks
Water tank sterilization
Water tanks
Water tank sterilization
-
 Water tanks
Water tank sealing
Water tanks
Water tank sealing
Need tank leak repair? Tell us the size of the tank and where it sits
A short call is enough. We tell you how long the tank is out of service and the full cost before we start.