
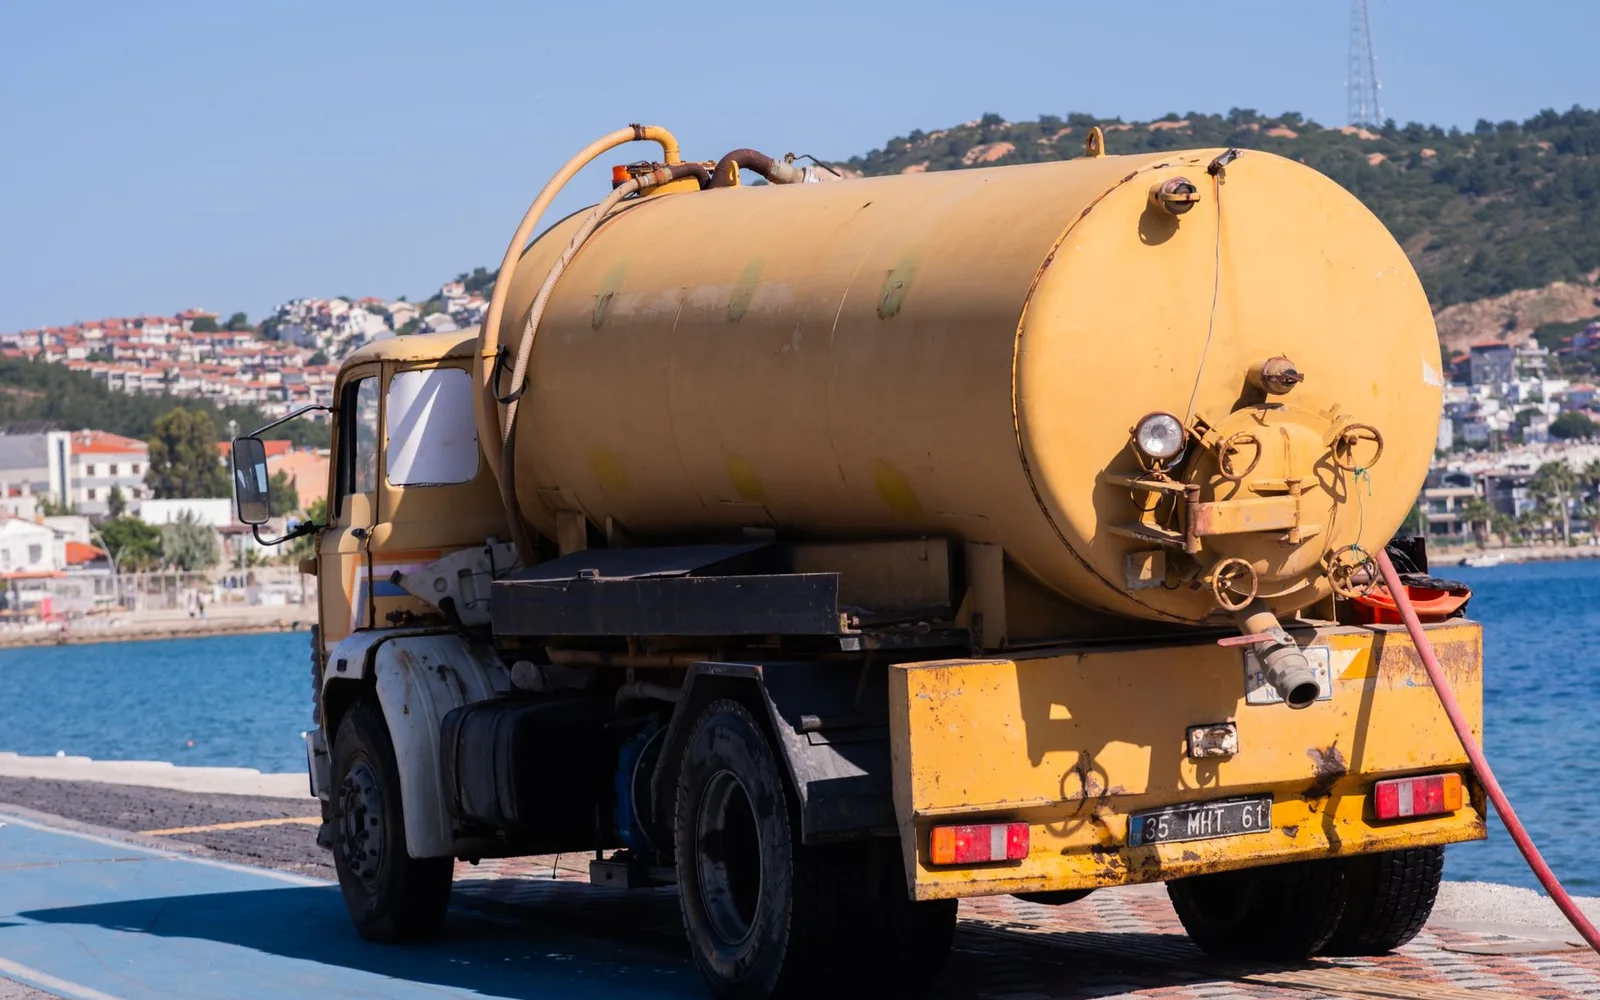
Water tank sealing for ground and roof tanks
We empty the tank and take its surface back to sound substrate, repair the cracks, the floor to wall joint and the pipe entries, then build the lining up on the face the water actually touches, and sterilise before it goes back into service.
-
Potable-rated materials
Linings and disinfectants cleared for drinking water tanks, not general-purpose products.
-
You get the downtime first
How many hours the tank is out of service, told before we start rather than after we finish.
-
A first-draw flush
We run the first draw off after refilling, and the tank is not handed back until the water runs clear.
-
Ground and roof tanks
Villas, apartment blocks and premises that need a written record of each visit.
Why a lining fails and the leak comes back
Three reasons, and all three turn up in tanks that have been lined before.
It went on the wrong face
The water pushes outwards. A coat on the outer face has that pressure working to lift it off the wall, however sound it looks in the first month.
Nothing bonds through sediment
A settled layer, algal film or a damp substrate stops the coating gripping. It lets go within months, and the flakes end up in the water it was meant to protect.
The leak is at the joint
Most of the loss is at the floor to wall junction and around the pipe entries. Coating the whole wall changes nothing while that joint is still open.
What we read before any material is opened
Six things we look at with the tank drained and dry, and each one changes the material or the order of the work.
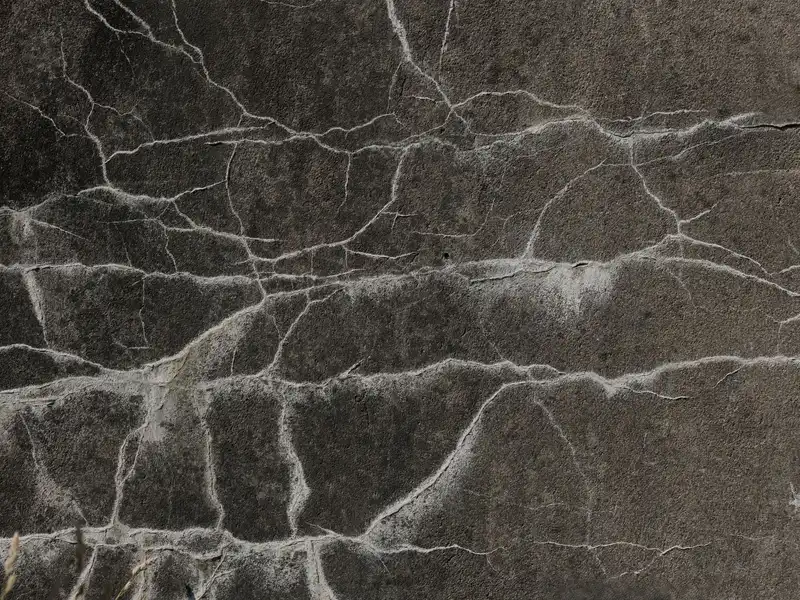
Cracking in the wall
A surface craze disappears under the coats, but a crack that goes through is opened and filled first, because a lining is a thin membrane and will not bridge a void.
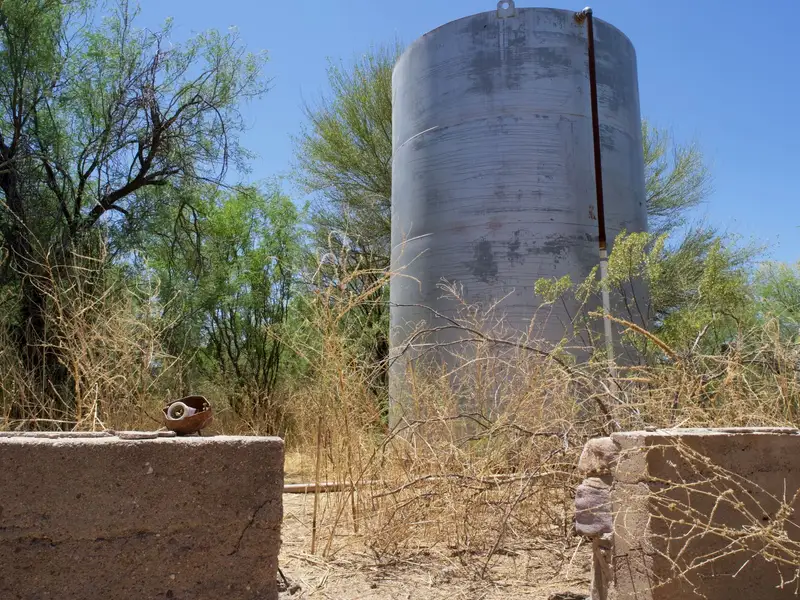
The floor to wall joint
The most common place for water to leave, and it takes a coved fillet rather than a flat coat, because a sharp corner splits the lining as the structure moves.
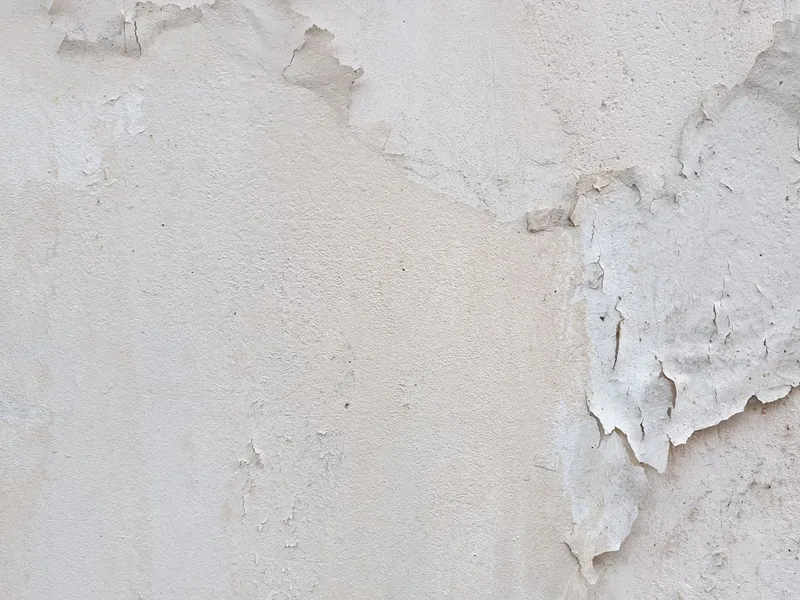
The condition of the old lining
Blistering or peeling means it never bonded, so it comes off back to sound substrate instead of being painted over.
Sediment and scale
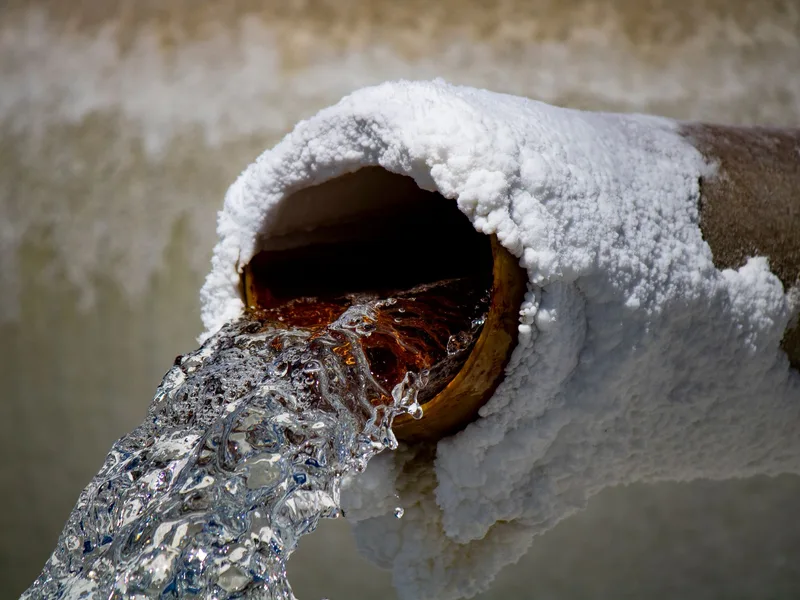
Fine sand and scale arrive with the supply itself and say nothing about how a place is kept, and no lining bonds through them, so removal always comes first.
The pipe entries
Inlet, outlet and overflow move differently from the wall they pass through, so each one is sealed around its collar before the wall is coated.
The hatch and the vent
A loose cover or an unscreened vent lets dust and insects in, and daylight is what starts algae, so both are dealt with while the tank is open.
How the visit runs
Four steps, and the order is not optional: no lining coat grips a surface that was not prepared first.
-
1
Inspect with the tank empty
We drain it and read the surface dry: whether the water leaves through a crack, a joint or a pipe collar, and what the outer face of the wall and the ceiling below are telling us. A level test with the valves closed separates a leaking tank from leaking pipework.
-
2
Clean and prepare the substrate
Sediment out, a high pressure wash, the loose old lining and the weak surface layer of the concrete taken back, then dried. The material grips sound substrate and nothing else.
-
3
Make the cracks and joints good
Cracks are chased out and filled with a repair mortar, a cove is formed where the floor meets the wall, and every pipe collar is treated on its own.
-
4
Lining, fill test, sterilisation
Successive coats, each run across the one beneath it, on the face the water touches. Then a full cure, a fill with the level watched, and sterilisation with the first fill run to waste before the tank returns to use.
What water tank sealing includes
-
Finding where the water leaves
Carried out drained and dry: cracks, joints, pipe collars and the outer face of the wall.
-
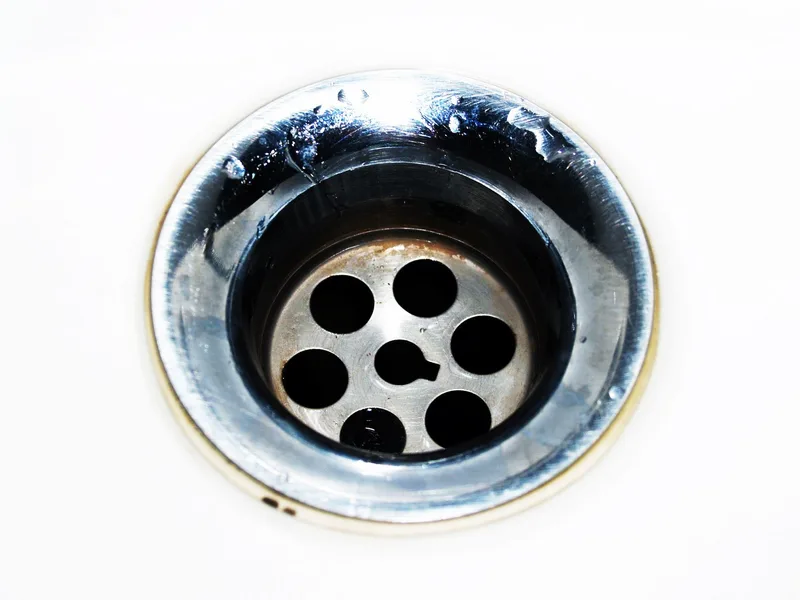
Draining and sediment removal
The last of the water and the settled layer on the floor come out, because a lining does not stick over sediment.
-
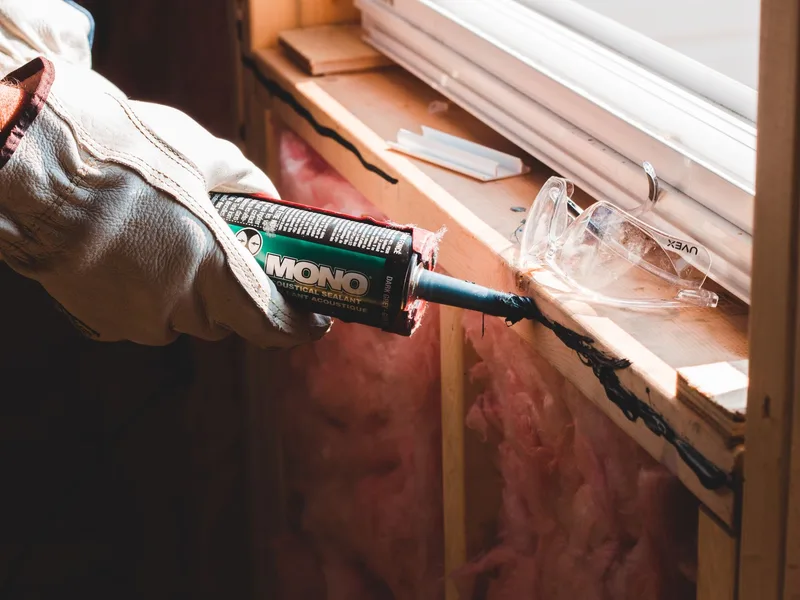
Cracks and joints made good
The crack opened and filled, a cove formed at the floor to wall junction, and each pipe entry worked separately.
-
Lining coats on the water face
More than one coat, each crossing the one below, in material made for drinking water tanks rather than roof waterproofing.
-
Curing, fill test and sterilisation
The material is left to cure, the tank is filled and the level watched, then sterilised and the first fill run to waste. How long the cure takes follows the material and the weather, and we tell you before the date so you can plan around the supply.
-

A follow-up level check
We come back once it is in service to read the level and check the outer face, because any remaining loss shows up then rather than on the day of the work.

What goes inside the tank
-
1
Materials cleared for drinking water
The lining and the disinfectant are both rated for potable contact. We do not use general-purpose products here, because a water tank is not a general-purpose surface.
-
2
The tank is out of service for a while
You get the number of hours before we start, so you can plan around it rather than discover the supply is off after the crew arrives.
-
3
A first draw after refilling
The tank is not handed back the moment it is full. We run the first draw off and confirm the water is clear and carries no smell.
-
4
What is written down at the end
A report of what was found inside before the work, what was used, and when the next check is due.
Our work

What customers say on Google
Excellent and courteous service, and the bed bugs were cleared from the house completely. I recommend them, God willing.
Translated from the Arabic original.
Excellent to deal with, very good service, and they explain. The staff explain how each product is used, completely honestly.
Translated from the Arabic original.
The termite problem disappeared after the treatment. Thank you.
Translated from the Arabic original.
We cover Jeddah and Makkah
The district pages for this service are being prepared and will appear here when they are published.
Common questions
How do I know the tank needs sealing?
The clearest sign is a level that drops with the valves closed. Shut the outlet in the evening and mark the level; if it has fallen by morning with nothing drawn off, the loss is the tank and not the plumbing. After that: a damp patch or a white salt bloom on the outside of the wall or on the ceiling below it, and flakes of old lining floating in the water.
Why did the leak come back after it was sealed before?
Usually one of three things. The coating went on the outer face, where water pressure works to lift it off the wall. Or it went over sediment and damp, so it never bonded at all. Or the wall was coated while the floor joint and the pipe collars, which is where the water was actually leaving, were left alone. How the old layer has failed tells us which one before we propose anything.
Is sealing enough, or does the tank also need cleaning and sterilising?
Sealing begins with draining and cleaning, because nothing bonds to sediment or algae, and it ends with sterilisation, because preparing a surface leaves dust inside the tank. If the tank is sound and not losing water, what you actually need is Water tank cleaning followed by Water tank sterilization, with no lining at all.
There is a visible crack losing water. Is that repaired before the lining?
Yes, and that order is the difference between work that holds and work that comes back. A through or live crack is opened out, filled and left to set before any coat goes near it, because a lining follows the surface, it does not close a gap. That part of the job is on Tank leak repair.
Is the material suitable for drinking water?
We use material intended for drinking water tanks. Roof waterproofing such as bitumen does not go inside a potable tank: it is not made for that use and it carries into the taste. Once the lining has fully cured the tank is washed, sterilised, and the first fill is run to waste before anyone drinks from it.
Mine is a fibreglass roof tank. Is the work different?
It is. A concrete tank takes coats that grip the concrete itself. A plastic or fibreglass tank usually leaks at a moulding seam or around a fitting, and that point is repaired rather than the whole inside being coated. Panel tanks lose water at the joints and gaskets between panels, which is a different inspection and different kit.
What does water tank sealing cost?
It is set after the inspection, because the figure follows the size and type of tank, whether an old lining has to come off back to sound substrate, how many cracks and joints need work, and how much room the hatch gives us to work in. Send the tank dimensions and photos of the inside and the outer face on WhatsApp and we will give you an estimate before the visit, then confirm it once we have seen it.
Other services
Scroll to see the rest of what we do.
-
 Residential
Cockroach control
Residential
Cockroach control
-
 Residential
Bed bug control
Residential
Bed bug control
-
 Residential
Termite control
Residential
Termite control
-
 Residential
Rodents and mice
Residential
Rodents and mice
-
 Residential
Mosquito control
Residential
Mosquito control
-
 Residential
Fly control
Residential
Fly control
-
 Residential
Ant control
Residential
Ant control
-
 Residential
Gecko control
Residential
Gecko control
-
 Residential
Scorpion control
Residential
Scorpion control
-
 Residential
Snake control
Residential
Snake control
-
 Residential
Flea control
Residential
Flea control
-
 Residential
Bird and pigeon control
Residential
Bird and pigeon control
-
 Residential
Preventive treatment
Residential
Preventive treatment
-
 Residential
Disinfection
Residential
Disinfection
-
 Commercial
Annual contracts
Commercial
Annual contracts
-
 Commercial
Restaurants and cafes
Commercial
Restaurants and cafes
-
 Commercial
Hotels and apartments
Commercial
Hotels and apartments
-
 Commercial
Warehouses and factories
Commercial
Warehouses and factories
-
 Commercial
Schools and nurseries
Commercial
Schools and nurseries
-
 Commercial
Retail and malls
Commercial
Retail and malls
-
 Commercial
Rest houses and farms
Commercial
Rest houses and farms
-
 Commercial
Fumigation
Commercial
Fumigation
-
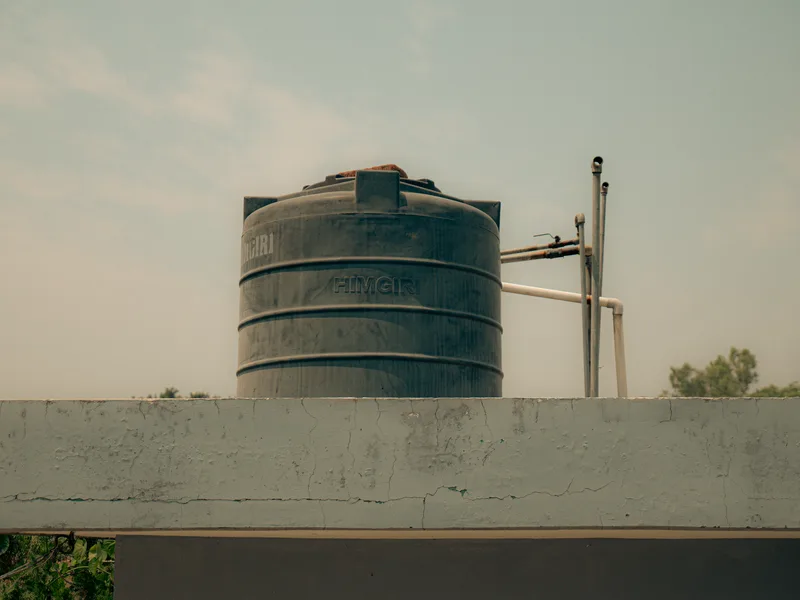 Water tanks
Water tank cleaning
Water tanks
Water tank cleaning
-
 Water tanks
Water tank sterilization
Water tanks
Water tank sterilization
-
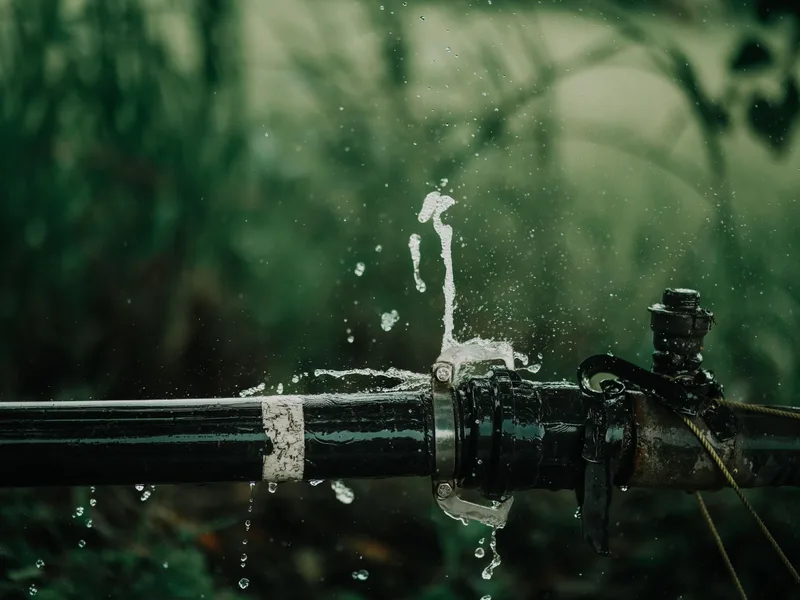 Water tanks
Tank leak repair
Water tanks
Tank leak repair
Need water tank sealing? Tell us the size of the tank and where it sits
A short call is enough. We tell you how long the tank is out of service and the full cost before we start.